
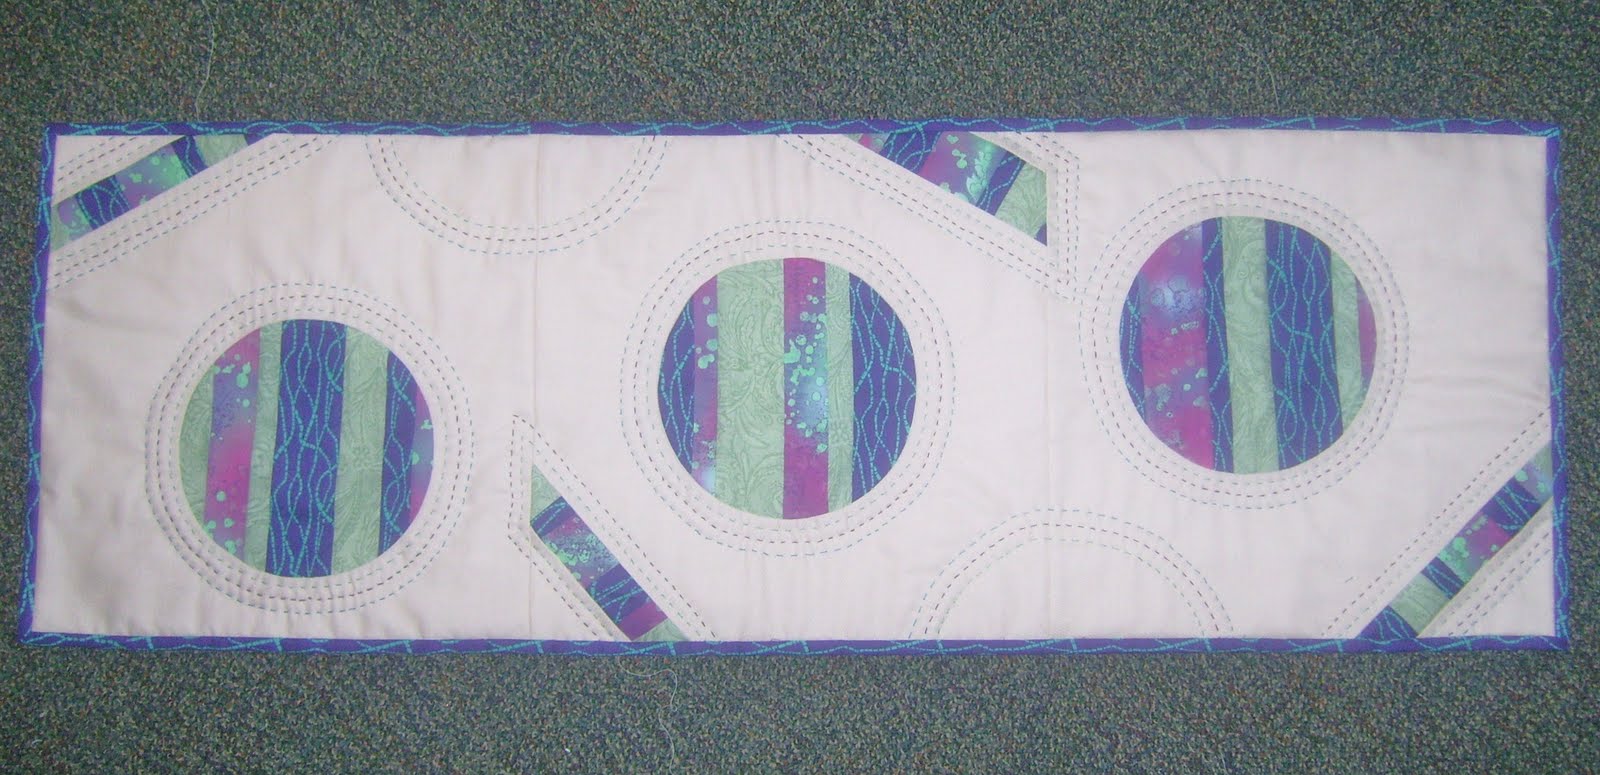
This table runner was made for the Color Palatte Challenge as well as a 'sewing curves' challenge - two challenges in one project - just have to love it. This tutorial is to show how I set-in those circles using a technique that my mother has taught for over 40 yrs. so the only source I have of origin is her. There are many other ways to sew in a circle, but I struggled - this really worked for me because I acheived true circles instead of 'eggs'.
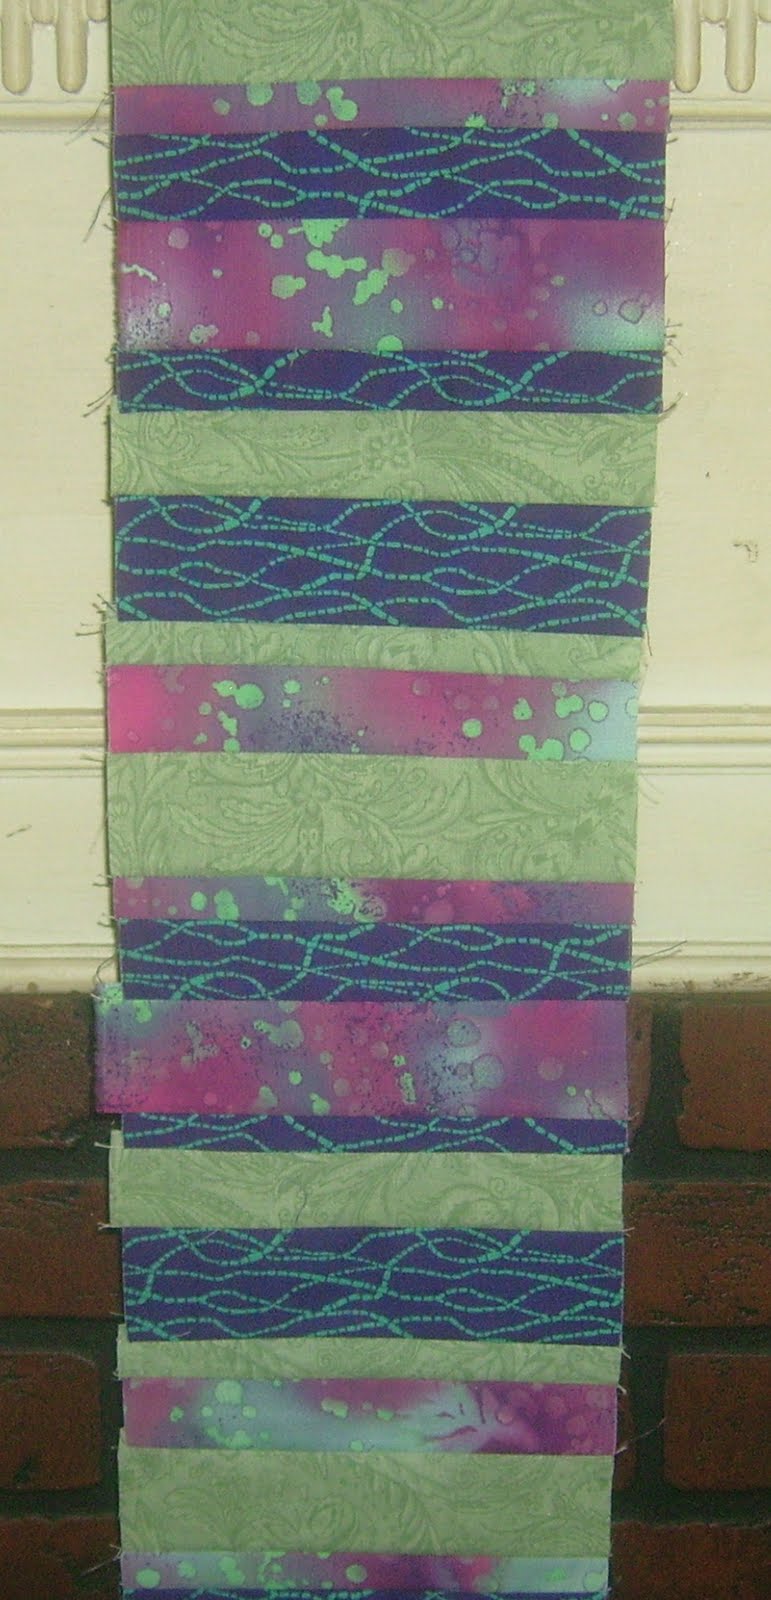
Because this was a color challenge with Patchwork Times, I made a stratta of my chosen colors, but you can use a single piece of fabric. Determine the size circle you want/need and be sure to add at least 1-2 inches extra to give you plenty of stitch room. You can work with a square of fabric - no need to cut another circle.

I used a Kona Snow for my background and a muslin for the back (for making the circle piece only). I found the lightest weight muslin works best because you will have these two fabrics as your top - then when you assemble the piece you have your batt and backing - so you want to keep the bulk down. I was working with a 12" square for the finish and started with a 14" square for stitch take-up allowance. Place your top fabric and your muslin right sides together - pin to hold. Now easy peasy - I used a coffee can (Large can) for my template - they are 6" circles which is what I was playing with - super! And trace your circle - add a few more pins if necessary.
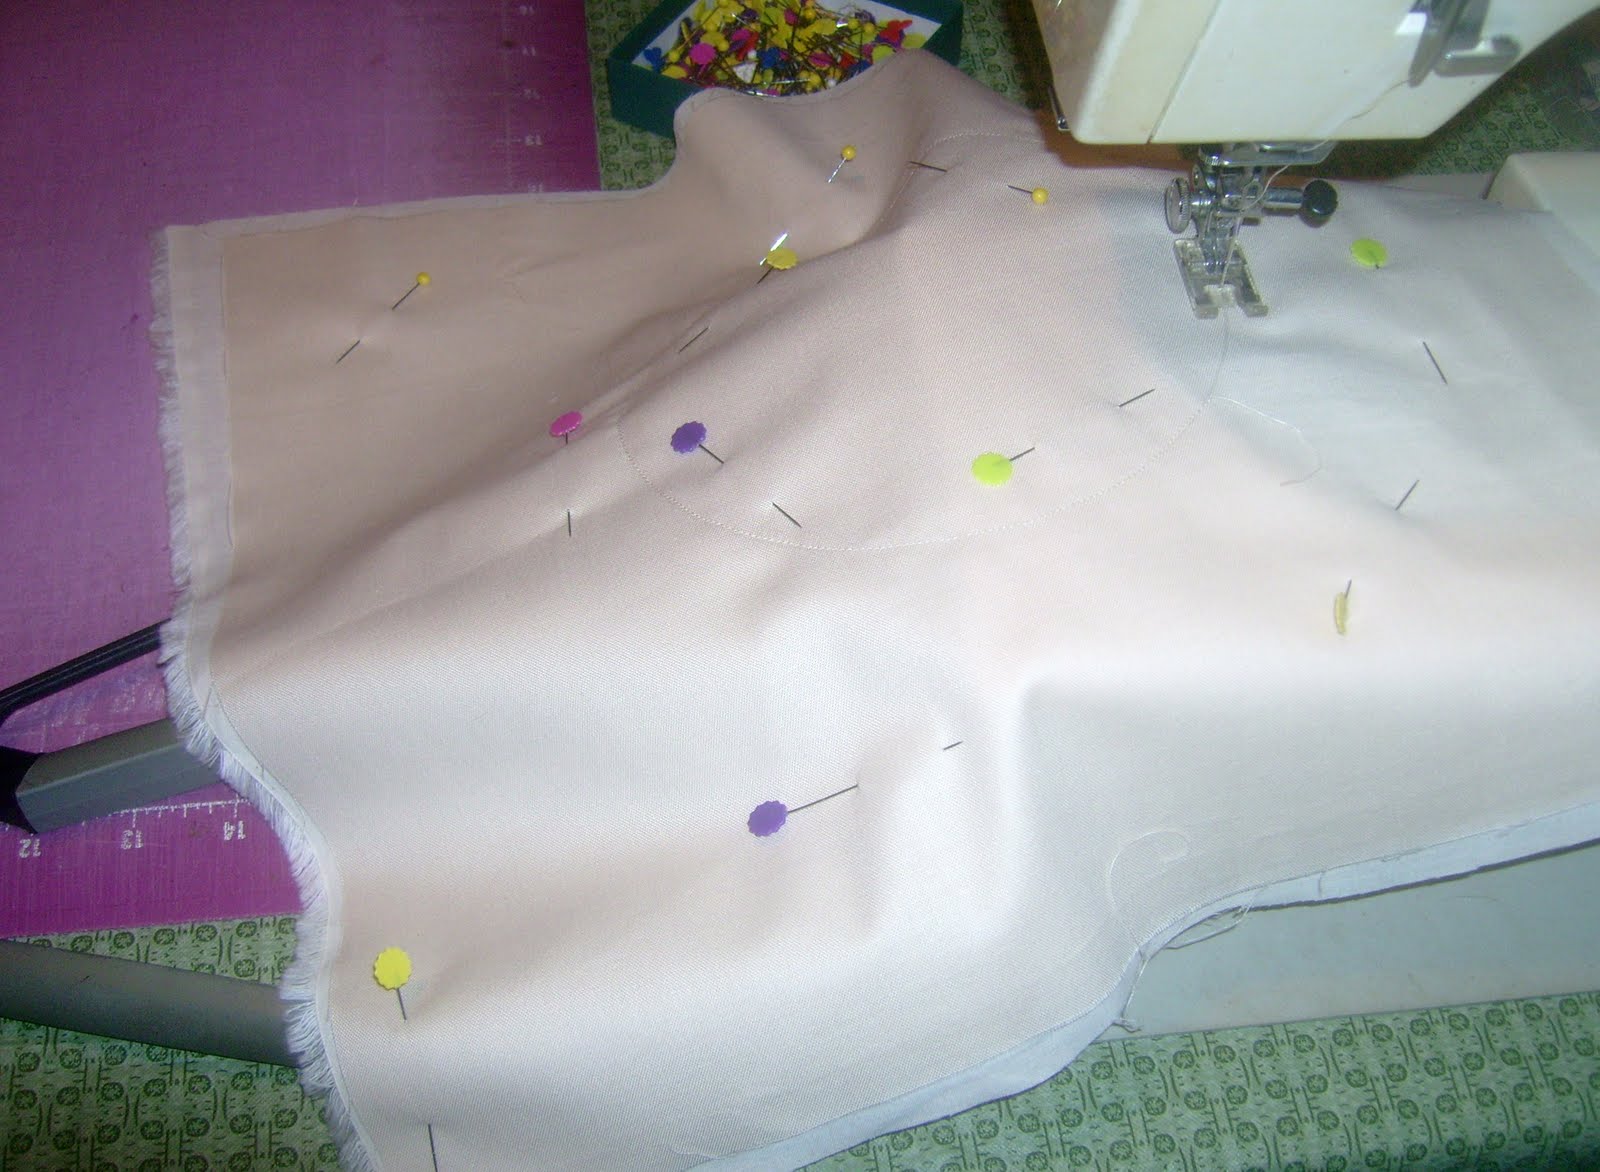
Now carefully stitch around on that tracing line - I set my stitch just a little smaller than my usual seam usage as this will give you a smoother turn and strength of edge. Go slow - even lift you presser foot if you need to so you can work on the line rather than 'tugging' the fabric around.

Take a snip in the center and trip that inner circle away - I left a 1/2" to give me lots of room for the next step. Clip around that circle close to the stitch line - be careful not to clip your stitching!! Once that is done - turn your piece around. This part was hard to photo because it just made a confused mess which would make you scratch your head, it is simply turning the piece inside out, you just have all open ends so it looks a little odd.

This is what you have after the turn - this is not even pressed yet, so you can see how perfect that circle comes out. If you have any lumps or oddities - flip it around again and fix that area with a few more clips. Press your piece - Press don't Iron!! We don't want to distort our wonderful work.

Now lay your accent fabric under your circle piece. Doesn't that look pretty already?

Now carefully, and a little area at a time so you don't disturb your setting - pin along the clipped seam area to hold your accent fabric in place for sewing. Don't be afraid to take your time and use lots of pins, because we don't want our accent fabric to slip and we will be stitching slowly the next step.

Now we are going to stitch just a thread to the left of our previous stitched circle line - so yes, we are going slow. By stitching to the left side, you are sure to hide that previous thread line and reduce bulk in a seam. Remember - GO SLOW!

This is the back - now you can trim away any extra accent fabric - You do NOT have to clip this like your circle as it is just a flat piece!

Pin your muslin and top fabric to hold, then square up your block. You are now ready to add your other blocks. I kept these pinned throughout just so that muslin would not slip.

OPTIONAL - I had stratta to use for more accent and I had set my cirles at various areas of each square - so needed some 'fill'. Simply cut off a corner, stitch your strip and the trim to size desired - or leave as the corner.

If just a strip - stitch the corner trim and square up that corner for finished block.

And once your piece is all assembled - quilt as desired. Hate that term, but since I had a lot of open clean space and this was a play on color - I used some matching color floss and large stitched around my circles and 'zip strips' for more design fun.
If you've had trouble with circles - here is an option. And if you try this and have questions, please don't be afraid to ask.
Sewingly Yours,
Sharon
27 comments:
thankyou for the tutorial Sharon i have never done circles before.xx
That is so cool! Thanks for the tutorial, I am gonna try one of these.
I actually think I got it!! You know my brain never quite fires right.
I'm saving this tutorial....great job! I also love the circle fabric.
Thanks to you and your Mom.
I had to check out your circles because Billie was so excited. :-) Very cool tablerunner! I have made circles like you are showing and I suspect it's an age thing..........I learned to sew in the 50's/early 60's from my mother. Some folks refer to this technique as "reverse applique". Whatever it's called, it works! :-)
I only did circles once..they didn't turn out so great. I will have to give these a try!
How fun!!!
Thanks Sharon. That was the best tutorial I have seen for circles, and it almost makes me feel I could do it.
A great tutorial! And such pretty fabric pieced together for the circles! Well done!
What a great tutorial!! Thanks for sharing your way of making perfect circles :)
I'm looking forward to trying this - I've "pinned" it on my tutorial board so I can keep it. blessings, marlene
Sharon...thank YOU sooo much for taking the time to take photos and post this wonderful tutorial! Your strata is beee-YOU-teee-FULL and the finish with the kona white is so striking.
This is a great way to used scraps. I have it added to my "things to make". =)
hugZ,
annie
anniesrubyslipperz.com
Sharon, this is wonderful!! I love it and you did a great job of explaining it, too! And the color play is beautiful! :)
thanks for this great tutorial!! I cant wait to give it a try. I have never sewn circles before.
I am vacationing in Maui...loving it...but missing my sewing machine :)
Thanks for the helpful tutorial! Circles are on my list of new things to try in the New Year.
Your instructions are PERFECT & very easy to follow Sharon. Well done! I'll keep this tut on hand. Thanks :)
Well how fun is that! Love it!
This is wonderful - I have seen some nice projects with circles, but wasn't sure how to do it! You always make it look so easy to do these lovely things! Thanks for sharing!
thanks for this tutorial. It looks great and Im for sure give this a try.
Nice modern runner.. very pretty! Thank you for the tip of what to do with old 6-1/2" acrylic rulers! I hadn't thought of that one :)
I made a tote bag with circles like this and it's the one bag everyone wanted.
What a great tutorial Sharon! I've done the circle before but the strata is a great idea, especially with the extras added!
Fun project!
Your table runner is lovely and this tutorial is great:)
Great tutorial! Like many others, I'll chime in my thanks for your making the tutorial! Love how you used the different colors in the quilting.
That's really cool! I learned that circle technique during my dressmaking days. I love it.
Love it! Great instructions!
Fantastic! I'll have to give the circle technique a try.
Post a Comment