Wednesday, November 30, 2011

Time To Trim the Tree


Last year I dedicated December to the Seasonal Songs. This year I would like to dedicate the month to the history of the Christmas Tree. Let's start with some history:

The Egyptians were part of a long line of cultures that treasured and worshipped evergreens. When the winter solstice arrive, they brought green date palm leaves into their homes to symbolize life's triumph over death.
The Romans celebrated the winter solstice with a fest called Saturnalia in honor of Saturnus, the god of agriculture. They decorated their houses with greens and lights and exchanged gifts. They gave coins for prosperity, pastries for happiness, and lamps to light one's journey through life. Centuries ago in Great Britain, woods priests called Druids used evergreens during mysterious winter solstice rituals. The Druids used holly and mistletoe as symbols of eternal life, and place evergreen branches over doors to keep away evil spirits. Late in the Middle Ages, Germans and Scandinavians placed evergreen trees inside their homes or just outside their doors to show their hope in the forthcoming spring. Purhaps our modern Christmas tree evolved from these early traditions?


SWAPS


Some lovely Spool Blocks from Vanessa for the Austalian 6" block swap.


And this wonderful candle mat from Danette. We waited till each had our package and opened them the same day. Made this last swap special.


And this is the candle mat I made for her - photo taken from her blog as I forgot to do it.

BLOCKS


Not the best photo, but the November block for the Blogger's BOM. I did change it up from theirs as it was too busy - this is busy enough!


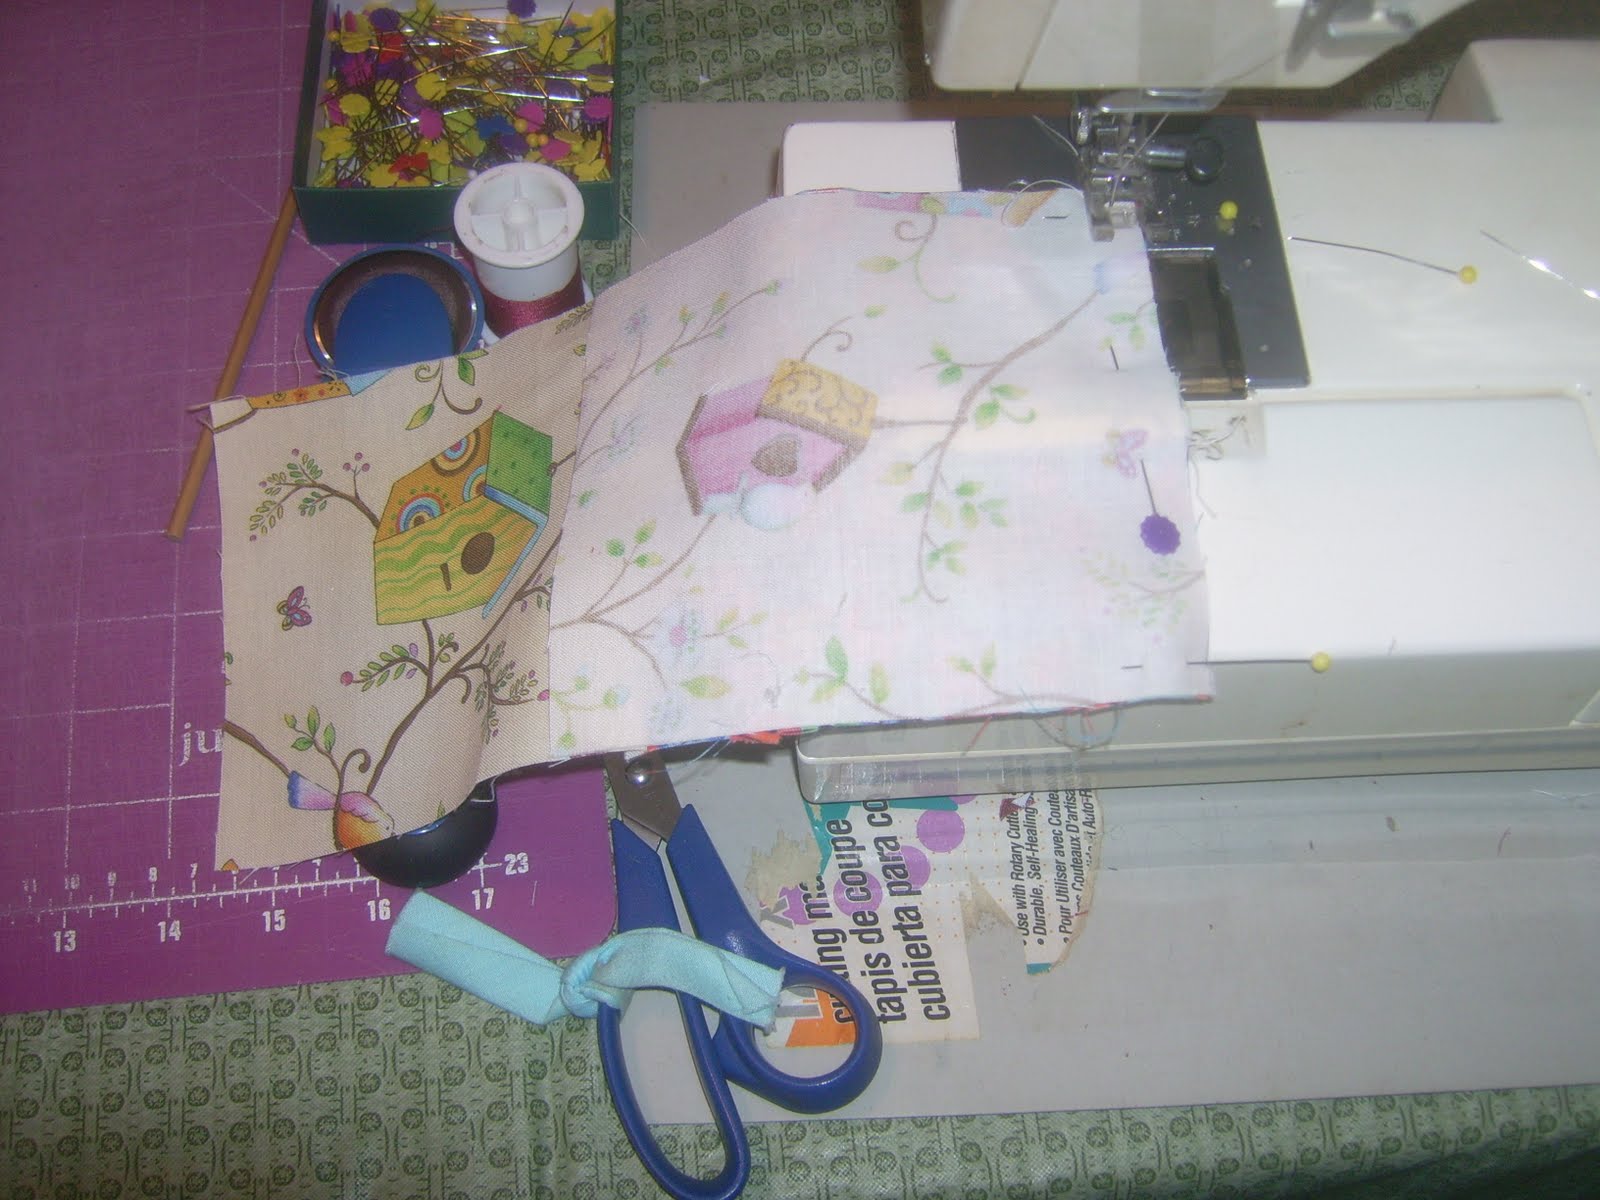
And my version of the wreath block for the Christmas Sampler Quilt Along. I just can't do (or like) machine applique - making blocks with tiny bits is more my style. I will add some beads, metallic threads, and bow with quilting. Today I think is the last block, so I left my few scraps of seasonal fabric out to play.


Not really a block, but a quilt along - Clover & Violet's 'Ruby Tote'. Making the lining step. I did change my pockets to meet the needs of what I carry to class/guild.

MINUTES FOR ME


I made this cute holder for my plastic grocery bags. I looked at some tutorials on-line and then did my own. Used some left over charms from a Marcus Brother line. Recycled some ribbon and lining is a recycled shirt, alpha letter wood beads (don't want this walking out the door), and a button.


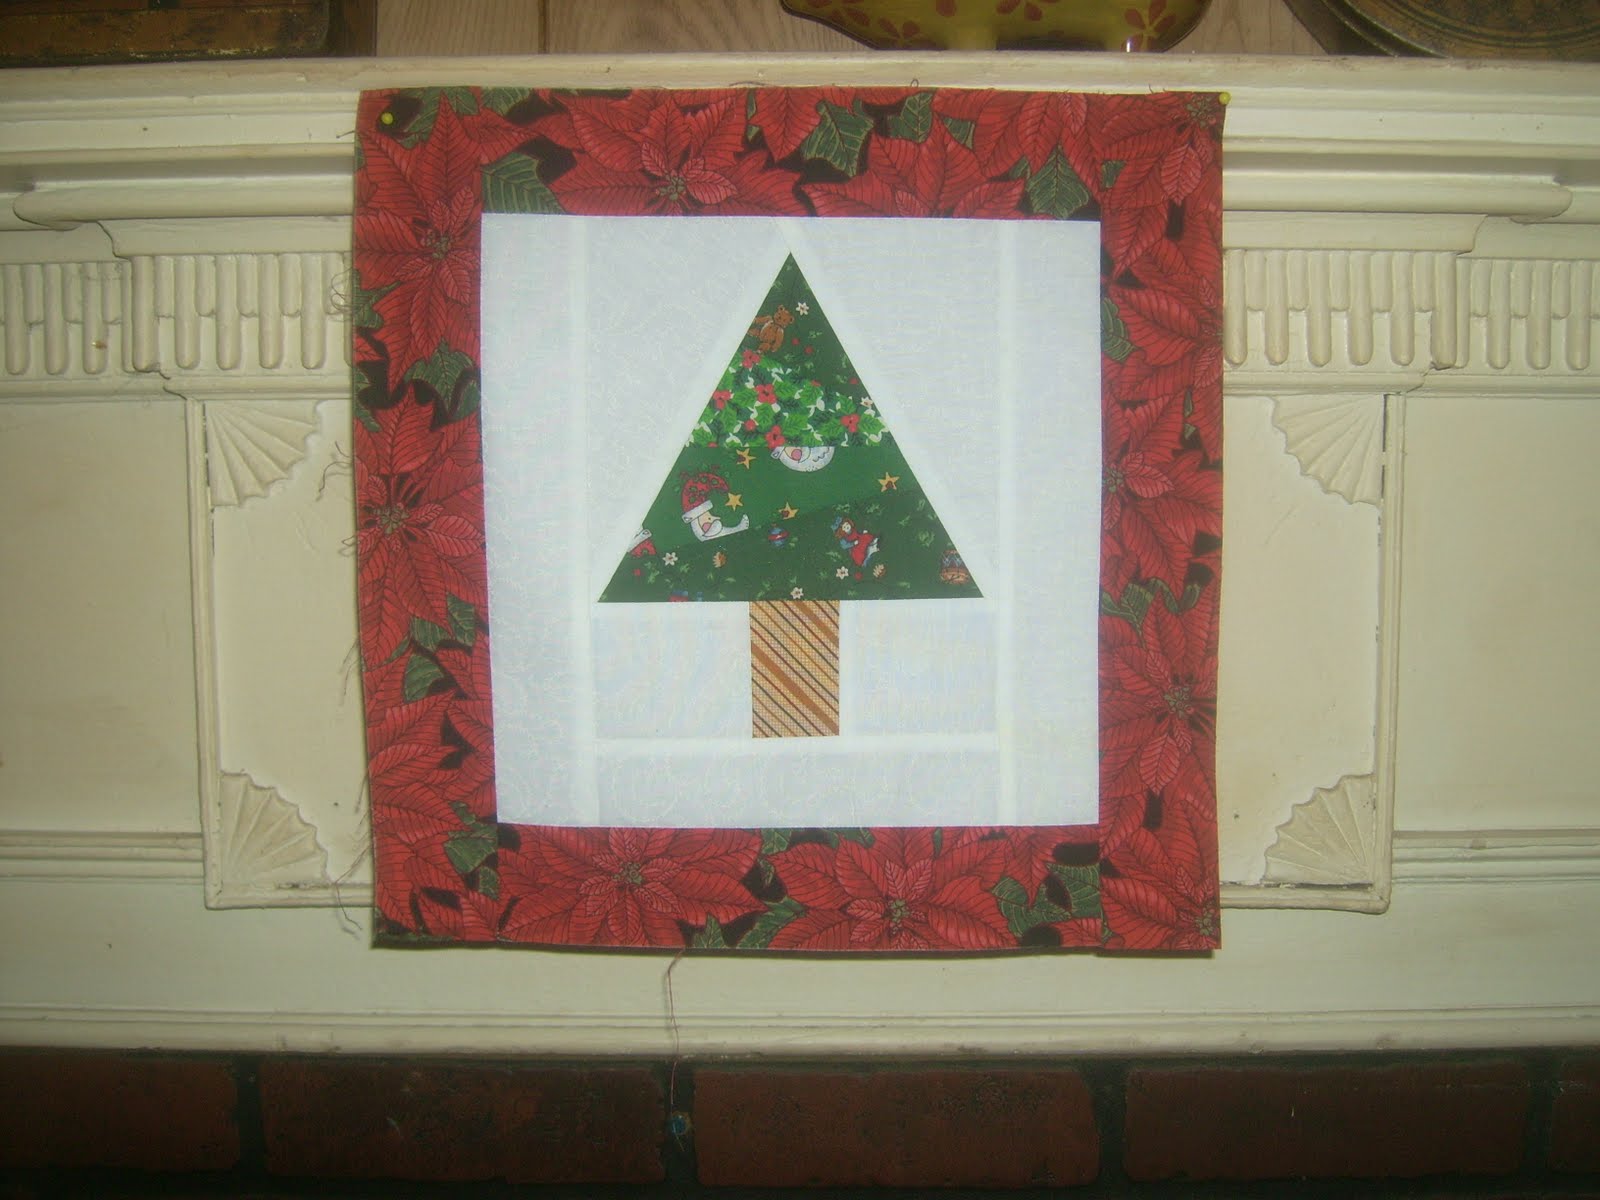
And I started to do a little decorating. That's my tree! I only do my mantel. I hung my candle mat until I get the embroidered banner finished, then I can set up the side table. The Advent piece is old - made with a pre-printed panel when my daughter was 2 or 3 - she's 30 yrs. old now. And I don't do ladders well, so it will stay hanging crooked. LOL!!

I will be linking up with Marcia's CraftySewing blog for her Minutes For Me this week.


REMINDERS

Still time to link up with Darlene at SewCalGal for the Christmas Quilt Show.

Be sure to visit Sew We Quilt as December will be filled with quick project tutorials. Need an idea for a quick gift - pop on over.


TRAVELING STASH

Box # 1 - on it's way to Growing Stitches

Box # 2 - Kelbysews is ready to move this box on. She is leaving comments open until Dec 9th, so pop over and good luck.

Box # 3 - PhillysBlarney is ready to move this box on. She is leaving comments open until Dec 4th, so head on over and good luck.


GIVE AWAY WINNER


Remember those 600 pre-cut blocks? Well I gave my list of names to the neighbor who doesn't know Blogger from Adam and she chose Gmamma Jane. I will send seperate e-mail for information so I can get this right out. Thank you all for participating - the New Year may hit the 200 post mark!

CLOSING THOUGHT

One little star on the top of the tree,
Two little presents underneath for me,
Three silver ropes twisted around the tree,
Four colored lights shining prettily,
Five shining balls flowing silvery.
Oh, what a sight for use to see!
- ANON

Sewingly Yours,
Sharon


Monday, November 28, 2011

Christmas Quilt Show


I am excited to participate in this year's Christmas Quilt Show sponsored by SewCalGal. Please consider joining in or at least visit all the blogs with entries and casting votes at the end of the Show.


This a free BOM from Sulky International and from the year 2004. I wasn't quilting at that time, but a quilting friend showed me the Sulky site as I became an avid paperpiecer and I made the wallhanging in 2009-2010. It will be a heritage piece as I am planning on 'playing' with my grand children in finishing all the embellishing. Letting them choose a house or item that needs decorating over the years.


The SchoolHouse - my grandies aren't in school yet, so this one will probably wait a few years. And you may have noticed that I missed part of the star in my piecing - no worries, I'll embroider that section in.


Santa's Workshop and Row Houses. I think this year will be Santa's turn for some fun play.


The Candy Shop. I fussy cut the snow baby in the door - my Mom (their grandmother) collects snow baby porcelians and this will be a way of remembering her in the future. You may be able to make out the background fabric - it is the 'Twas the Night Before Christmas' story - the first holiday storybook I read to my eldest grandson.


Patchwork Shop and Post Office. Since we are a quilting family with quilt shop, this block is sure to get some goodies added. The mini holiday quilt is ready to hang on the line. The Post Office represents my Son-in-Law who is a route post deliveryman. Found this cute little envelope embroidery to stitch on the front.


The X-mas House - we had a local home that set up and displayed wonderful trees for the holiday and visitors were welcomed to enjoy. Church - our lovely little village churches are heavily damaged (Irene flood) and hopefully will be restored. Christmas Eve Service is a family tradition. Toy Shop - what little boy or girl doesn't love a toy shop! And the Bakery for all those lovely sweets during the holiday.


And my little box for storing goodies found with the hopes of being added to the embellishing of this wallhanging. Being a revolving-thru-the-years project, it will be fun to 'find' little items to put in that box for the grandies to search thru and select as part of the year's addition.


Thank you for visiting, maybe I have inspired to make a heritage piece to share with your grands. Please, be sure to visit all the bloggers participating and leave them a word or two (or more). Also, thank Darlene for hosting - after all, where can you see a Christmas Quilt Show without leaving your house!

Sewingly Yours,
Sharon

Sunday, November 27, 2011

In A Cavern


It is funny how we get so use to a set routine and when changed, we feel in the dark, feeling our way. I did enjoy time with my daughter, son-in-law and the grands - too much food and lots of hugs and kisses. But, then home to take part in 'support small businesses in your community' weekend. I spent the rest of the holiday weekend at Howes Caverns, a local attraction. They hosted a special tour weekend as well as a Holiday Craft Fair with local artisans. There were 12 of us in a wonderful setting in their dining room. They also had some raffles and sales which funds went directly to the Flood Victims Fund. I knew all of the vendors, so was a very warm, friendly weekend. My sister in-law even came to help out - got her feet wet in the business so to speak as we have two more weekends in local communities with similar ventures. No we didn't get the cavern tour into our time table, purhaps another time.

BUT I SEWED WHEN I CAME HOME AT NIGHT


The next FQ Star Quilt Along block with my recycled men's shirts.


My version of the ornament block for the Christmas Quilt Along. I am not fond of machine applique, and the original block had lots of small ornaments. I decided to just use my holiday scraps and make one large. I will add beading and a bow when ready to quilt.


I changed up the stocking block, too. Needs some embroidery and ribbon work for finishing.


And the new phone book arrived in the mail, so naturally that means the old one is fair game for some strip piecing play. That never ending scrap tote!!


Pretty string blocks - how I find it so relaxing to just mindlessly stitch these and find such a delight in how all those tangles of fabric turn into blocks. Oh, the little blue ones in the basket were inspired by the Orca Bay, but I am not participating in that - they will be used else where, but I have a lot of blue skinny strings!


And a thrill to find a package arrived - my candle mat swap. I am waiting to hear from Danette, so we can open them together.

TRAVELING STASH

Box #1 - GrowingStitches

Box #2 - KelbySews

Box #3 - PhillysBlarney

REMINDER

Christmas Quilt Show I need to pull my items to photo and will post for Tuesday.

CLOSING THOUGH

"While the spirit of neighborliness was important on the frontier because neighbors were so few, it is even more important now because our neighbors are so many." ~Lady Bird Johnson

Sewingly Yours,
Sharon

Christmas Quilt Show


Tomorrow is the start of SewCal Gal's annual Christmas Quilt Show. Small, medium, large, and designed in EQ - it will all be fantastic and you won't want to miss it. So get your camara, grab your entry, and be ready to post and join in.

Wednesday, November 23, 2011

Giving Thanks


I am feeling blessed with many helping hands that have been so active in our community, helping it to recover - so many who give up a day or two each weekend. For all my blogging friends who always seem to support and help to the utmost where they can. For family - who I will be spending with a few days. Yes, off to my daughter's and I get to smother my grandsons with kisses and hugs!

MINUTES FOR ME


It has been a wonderful year with the few swaps I participated in. But I really enjoyed the Once Upon A Season hosted by Cheryl at Stitching Cubby Hole. Each season swapping with a new person - this lovely package is from Donna at LavenderNest.


We swapped the Australian seasons (this was Summer) which was cool as you worked on a project different from what was around at the time - sometimes I had to think outside the box. Look at the goodies - blue FQ's (I love blue), daisy buttons (I love buttons), a pinnie table mat (I love pinwheels), and a beautifull vintage stitched dresser runner with picot edging. Oh, reminded me of my greatgran who actually has been on my mind a lot. Thank you Donna for so many lovelies for me.


And I ordered an Ackfeld wire table top hanger for my year of minis. Rather that wait for January - Regina Grewe offered this wonderful nutcracker pattern while the 'Garden Fun' BOM is on winter holiday. So I had to make him to dress up my new hanger and be part of my holiday decor.

Marcia atCraftySewing has this wonderful idea of Minutes for Me and each week sets up a Linky Party. This weeks is extended because of the Holiday. Why not join in? No prizes, give aways - just a way to allow yourself to make some MINUTES. We all need to reward ourselves with ME time. I'm linking this rather short post to Minutes For Me - I will be away for the next 4 days - ME TIME.

CLOSING THOUGHT

My dear greatgran has so been on my mind - a woman before her time. A pillar of the family and the community. She had so many quotes of wisdom - sometimes a bit mixed up or beyond my tender years to understand. But at this time, I remember her offering this on to me when I questioned why she had given a neighbor her last bag of flour one Thanksgiving. "Remember child, the giving hand extends further than your sleeve. It will be returned tenfold if you extend both hands."

Sewingly Yours,
Sharon

Sunday, November 20, 2011

Block Party!!


I hope you have been visiting HERE as there has been one or two wonderful block tutorials each day - all thru the month of November! I will be a guest tomorrow - Tuesday, Nov 22nd. Hope you pop in for a visit and leave me a line.


I finished my 12 of Hearts BOM stitchery. I'm thinking Moda's Blueberry Crumble will play so nicely with these. What do you think?


These little basket blocks are on their way 'across the pond' as part of the Australia 6" block swap. I am not the best at applique' (handles), but goes to show you need to TRY to learn anything new. Small projects in a new technique are wonderful ways to try something new.


My version of the tree block for the 12 Days of Christmas Quilt Along.


And my version of the Noel block for the 12 Days of Christmas Quilt Along. This shows you should print from one version - the N was from the site and the other letters from a saved file - see how they are different - HEY, I like different so it stayed as is.


Block #10 from Quilt Happy,Quilt Often's Home Sweet Home BOM. They are just 4.5" blocks and stitch very quickly. They are all still available if you like.

ON THE WALL


This is my progress for the Clover & Violet market tote. I am going with a solid back and pieced front. A lot more to do on the pocket stitchery which I am also using my pen-tech pencils. I will be adding beadwork, too. I will link this project up with Judy and Clover & Violet.

REMINDERS

Sew Cal Gal - Christmas Quilt Blog Hop
Occupy Your Sewing Room
Minutes for Me
FQ Star Quilt Along (Tuesday next block)
12 Days of Christmas (Tuesday next block)

TRAVELING STASH

Box #1 - just passed on to Jessica at Quilty Habit.

Box # 2 - Staci will be splitting the box in two - The Confused Quilter so hop over and leave a comment if you are up to committing.


GIVE AWAY


Since it is a block party, I will be doing a block tutorial on Sew We Quilt, I seem to be working in blocks, my SQUARED UP segment has been missing for a while, and I am almost to that magic 300 follower thing - it's give away time!!! What better than a collection of pre-cut squares (blocks) from my overflowing barrel. Seems I don't use the 3.5" squares very often. This is a pile of 600 squares - be a follower and leave me a comment "your fondest memory of FIRST snow" - nothing more special and thrilling as the first snowfall of the season. I will announce the winner DECEMBER 1ST. **Will ship international**

CLOSING THOUGHT


Moe has finally, I think, accepted this fabric piles, threads stuck to everything, hissing iron, starch spray, machines humming, pins on the floor crazy house. Today was the first time I found him amid the fabric napping. Do you see which fabric he pulled to use for his pillow?

Sewingly Yours,
Sharon

Wednesday, November 16, 2011

Pass The Tissues Please!


So many asked if I would post a tutorial for how I made the tissue box cover for the Ghastlie Blog Hop. With many bloggers having been ill, are ill, or family ill - gosh this darn Flue season has gotten to us all - this seems like a good time.

This is long with lots of photos. They are actually very easy, but feel the more visual the more help. And you are always free to express yourself with the pattern, share it, just link back for credit.


Most of these small tissue boxes are the same size, but check your measurements. I measured the top of the box which was 4.5" square. Add a 1/2" to your pattern for seams. So we are working with a 5" square.


Take the side measurements. This box is 4.5" x 5" - add the 1/2" for seams. So we are working with a 5" x 5.5" rectangle.


Supplies:
Top: cut 5" square and cut in half so you now have two 2.5" x 5" rectangles
Sides: cut four 5" x 5.5" rectangles
Bindings: cut two 1.5" x 5" for top and one 1.5" x 22" for bottom


Sew your binding strips to one long side of each top rectangle.


Press your binding out. Turn over and press the binding edge to the top of seam raw edge.


Fold over and press in place. Pin and top stitch from the front. There is plenty of room to stitch and catch that binding edge. Even have some fun and use a fancy stitch here if you like.


Now butt up your two top pieces and stitch across 1/4" seam to hold in place. Mark your 1/4" seam locations in each corner as we are going to learn some set in seams - DON'T get nervous, use this as a learning curve.


Take one of your side pieces and pin right sides together on one of the 'seamed' top side, making sure your pattern or directional fabric is going the right direction - don't want anyone standing on their head. Stitch from 1/4" mark to 1/4" mark.


Now we are going to add the OPPOSITE side piece, pin right sides together again checking our pattern is correct - and stitch from 1/4" mark to 1/4" mark.


Press your two side pieces out. Here you can play. If you are a beginner at set ins, I would skip this. If you are a confident beginner or experienced, you could top stitch or use a fancy stitch - just REMEMBER to start 1/4" in and end 1/4" from end! The Ghastlie cover I hand stitched with floss and large stitch AFTER completed.


Now for our other sides. Place right sides together (check your pattern directions so no upside down) and pin. If you pull back you previous seams, it will aid you in pinning your start and ending 1/4" points. Stitch from 1/4" to 1/4".


Add your last side using the same method. Pin your seams out of the way to help with the 1/4" mark. Stitch from 1/4" to 1/4".


Press your side pieces out. Again, you can leave them as is or use a top stitch or fancy stitch - remembering to start and stop 1/4" from edge.


With right sides together, line up your seam sides. It helps to fold the entire piece in half. Set a pin at your starting point - your 1/4" should be easy to see with your prior stitching. START at this point and stitch down the side.


Use the same process on the OPPOSITE corner/side. Your 1/4" seam sets are visible at that top - start there and stitch down the side seam. Repeat for the other two sides.


Turn your little fabric box right side out. Almost there. Time to check those corners and do any fixing. Don't stress it - it's a tissue cover! And if your first experience at this, relax and breath. It's better to take some hand stitches to fix than try to re-sew. Make a few more and you will be a pro.


Now to bind the bottom - just the same process as the top edges. Press one end 1/4", pin binding around bottom with right sides facing. Start stitching just before a seam/corner, go around and end just after the last seam/corner.


Match up your binding - I fold back butting up to other ends fold. Then pin those two fold lines together. Stitch across. Trim excess. Finger press those seams open and pin binding in place - finish stitching down. This is a skinny binding and a small opening - no need to stress over bias edges like on a quilt.


Again like the top binding - press the binding out, then fold and press to match raw edge of seam and binding edge. Fold over the seam and pin in place for stitching. Again just a lot of room for a straight stitch or play with your fancy stitches.


Here's the finished tissue cover. Wouldn't it be fun to use some rick-rack instead of binding? Add some yo-yo's? Oh your imagination makes it your own.


I made another to varify my directions - how about a tissue cover for your little buck-a-roo! Enjoy your creations and feel free to ask any questions if something is hard to understand. ABOVE ALL - have FUN.

I will be linking this post with Marcia's Minutes for Me at Marcias Crafty,Sewing,Blog as I enjoyed using my minutes to share this tutorial with you.

Also linking up with Sarah at Confessions of a Fabric Addict.


CLOSING THOUGHT

Just to share something new to me in the tissue world:

Design Your Own Tissue Box

Sewingly Yours,
Sharon