

So many asked if I would post a tutorial for how I made the tissue box cover for the Ghastlie Blog Hop. With many bloggers having been ill, are ill, or family ill - gosh this darn Flue season has gotten to us all - this seems like a good time.
This is long with lots of photos. They are actually very easy, but feel the more visual the more help. And you are always free to express yourself with the pattern, share it, just link back for credit.

Most of these small tissue boxes are the same size, but check your measurements. I measured the top of the box which was 4.5" square. Add a 1/2" to your pattern for seams. So we are working with a 5" square.

Take the side measurements. This box is 4.5" x 5" - add the 1/2" for seams. So we are working with a 5" x 5.5" rectangle.

Supplies:
Top: cut 5" square and cut in half so you now have two 2.5" x 5" rectangles
Sides: cut four 5" x 5.5" rectangles
Bindings: cut two 1.5" x 5" for top and one 1.5" x 22" for bottom

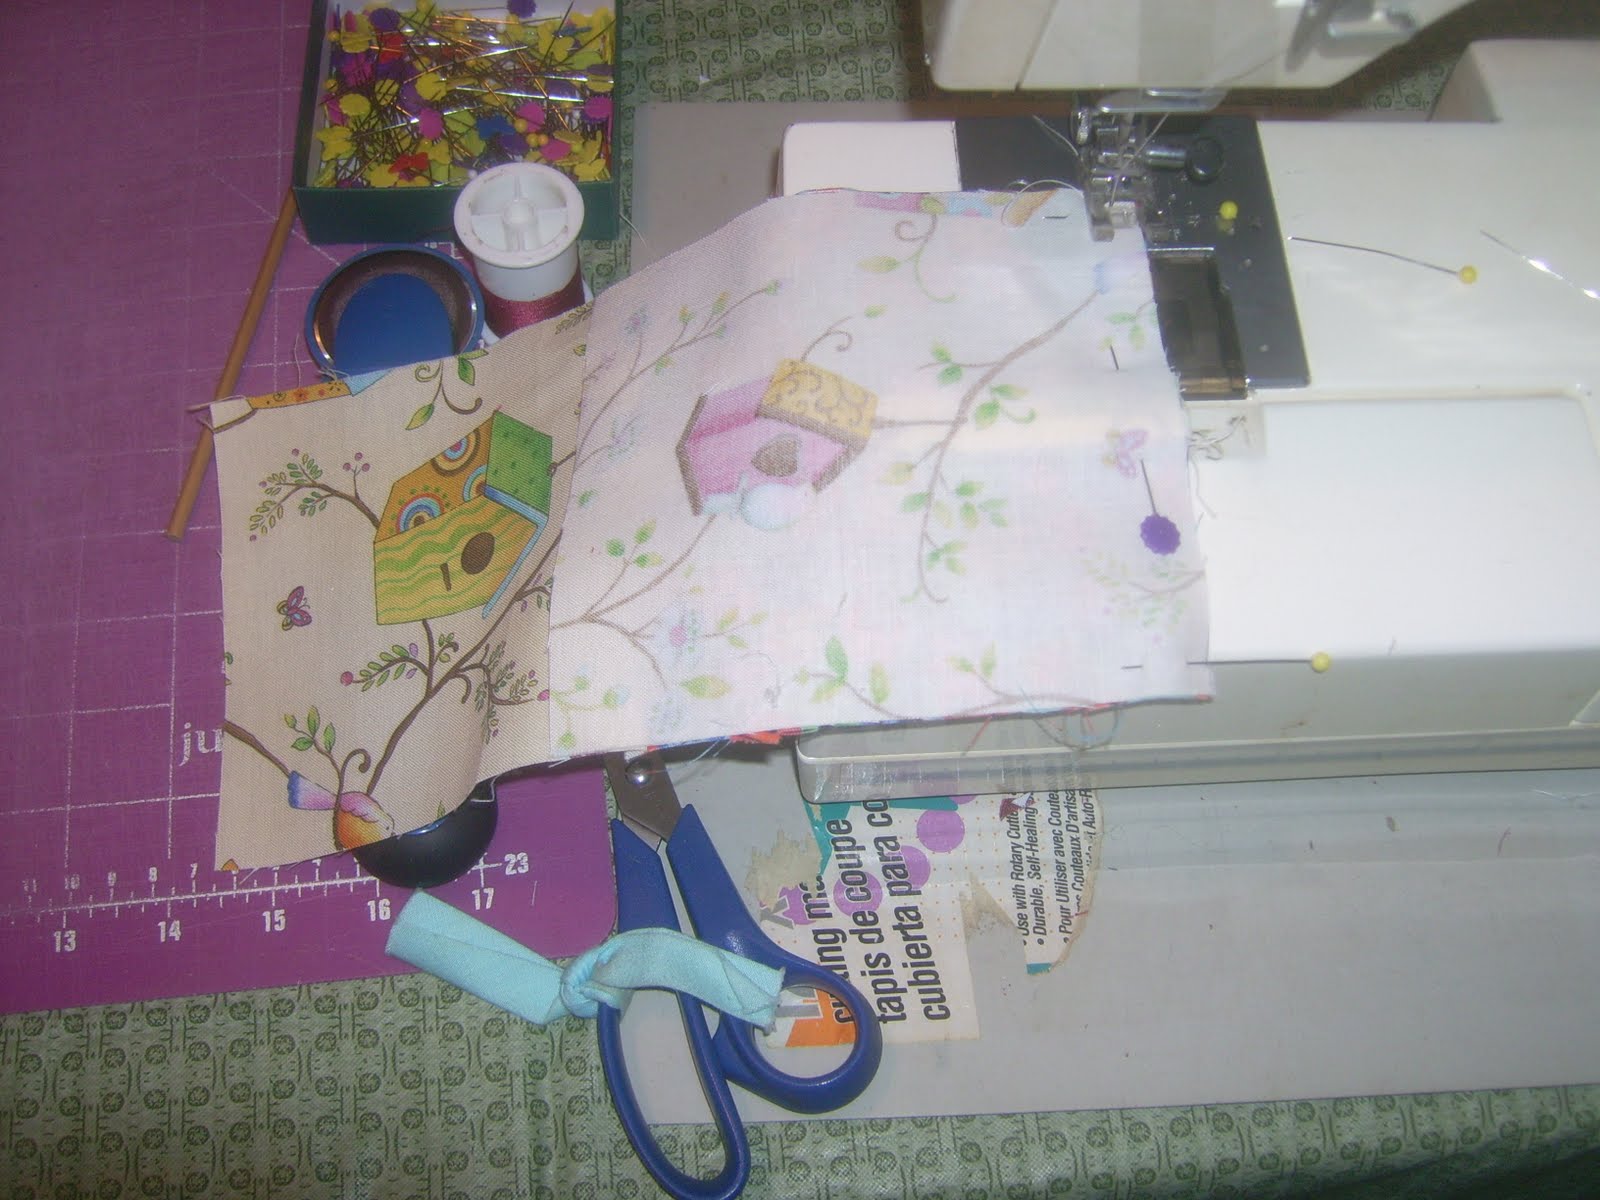
Sew your binding strips to one long side of each top rectangle.

Press your binding out. Turn over and press the binding edge to the top of seam raw edge.

Fold over and press in place. Pin and top stitch from the front. There is plenty of room to stitch and catch that binding edge. Even have some fun and use a fancy stitch here if you like.

Now butt up your two top pieces and stitch across 1/4" seam to hold in place. Mark your 1/4" seam locations in each corner as we are going to learn some set in seams - DON'T get nervous, use this as a learning curve.

Take one of your side pieces and pin right sides together on one of the 'seamed' top side, making sure your pattern or directional fabric is going the right direction - don't want anyone standing on their head. Stitch from 1/4" mark to 1/4" mark.
Now we are going to add the OPPOSITE side piece, pin right sides together again checking our pattern is correct - and stitch from 1/4" mark to 1/4" mark.

Press your two side pieces out. Here you can play. If you are a beginner at set ins, I would skip this. If you are a confident beginner or experienced, you could top stitch or use a fancy stitch - just REMEMBER to start 1/4" in and end 1/4" from end! The Ghastlie cover I hand stitched with floss and large stitch AFTER completed.

Now for our other sides. Place right sides together (check your pattern directions so no upside down) and pin. If you pull back you previous seams, it will aid you in pinning your start and ending 1/4" points. Stitch from 1/4" to 1/4".

Add your last side using the same method. Pin your seams out of the way to help with the 1/4" mark. Stitch from 1/4" to 1/4".

Press your side pieces out. Again, you can leave them as is or use a top stitch or fancy stitch - remembering to start and stop 1/4" from edge.

With right sides together, line up your seam sides. It helps to fold the entire piece in half. Set a pin at your starting point - your 1/4" should be easy to see with your prior stitching. START at this point and stitch down the side.

Use the same process on the OPPOSITE corner/side. Your 1/4" seam sets are visible at that top - start there and stitch down the side seam. Repeat for the other two sides.

Turn your little fabric box right side out. Almost there. Time to check those corners and do any fixing. Don't stress it - it's a tissue cover! And if your first experience at this, relax and breath. It's better to take some hand stitches to fix than try to re-sew. Make a few more and you will be a pro.

Now to bind the bottom - just the same process as the top edges. Press one end 1/4", pin binding around bottom with right sides facing. Start stitching just before a seam/corner, go around and end just after the last seam/corner.

Match up your binding - I fold back butting up to other ends fold. Then pin those two fold lines together. Stitch across. Trim excess. Finger press those seams open and pin binding in place - finish stitching down. This is a skinny binding and a small opening - no need to stress over bias edges like on a quilt.

Again like the top binding - press the binding out, then fold and press to match raw edge of seam and binding edge. Fold over the seam and pin in place for stitching. Again just a lot of room for a straight stitch or play with your fancy stitches.

Here's the finished tissue cover. Wouldn't it be fun to use some rick-rack instead of binding? Add some yo-yo's? Oh your imagination makes it your own.

I made another to varify my directions - how about a tissue cover for your little buck-a-roo! Enjoy your creations and feel free to ask any questions if something is hard to understand. ABOVE ALL - have FUN.
I will be linking this post with Marcia's Minutes for Me at Marcias Crafty,Sewing,Blog as I enjoyed using my minutes to share this tutorial with you.
Also linking up with Sarah at Confessions of a Fabric Addict.
CLOSING THOUGHT
Just to share something new to me in the tissue world:
Design Your Own Tissue Box
Sewingly Yours,
Sharon
30 comments:
You put a lot of time and thought into this easy to follow and understand tutorial. Your tissue box covers are cute, esp the Ghastlies.
Thank you, Sharon.
Thanks Sharon... so easy to follow. I'll remember this one too! :)
Alll over this Sharon..great tut...YOU should have been doing this for our December comfort and joy...this brings me both..comfort and joy...love it love it...you sew cool.
great tutorial.......lots of pictures and easy to understand
Great job, Sharon -- I think I could do one of these!! In fact, I think I could probably do *several*! :)
What a great tutorial! I just might have to make some holiday covers for those christmas packages I am putting together!
I wish I had time to make this today! I don't but I will soon. :) I've pinned it to my sewing board so I'll be ready! blessings, marlene
Sew cute, especially the last one. Thanks.
What a great tutorial! It looks pretty easy and you did a great job of explaining and showing how it's done. Bravo!!
You did really good,Sharon!!! I definitely want to make this real soon. Thanks for sharing your talents - you is creative. Judy C
Thanks for the fantastic tutorial, Sharon! We will never have another naked tissue box in our house :)
WOW...great tute...thank you for sharing your time and talents with us! GREAT gift for Christmas!
hugZ,
annie
Just what I need after being ill for over a month-and still sniffing - its a great tutorial -thanks
great tutorial! I think even i could make one!
Exceptional tutorial Sharon! Great photos and clear instructions. Thank you so much!
The Create-your-own-Kleenex-Box is new to me, too, and I can see the possibilities. Don't think my kids (all grown) would enjoy receiving a number of Kleenex boxes with their parent's faces featured on the box though. Hmmm...would be fun sending them, however! :D
thankyou Sharon for your tutorial and you have made it so easy to follow,boy how good are the ones you made,well done
These are so cute. I'll remember them when looking for a matching tissue box in the store and I'm just too lazzzzzy to follow in your steps. LOL!!!
Nice tissue box covers, they'd make great gifts especially in holiday fabrics! Thanks for sharing.
I love this tissue box cover - thanks for the tutorial! Whoop whoop!!
Oh, these are awesome! I am tucking this away for later...I am serious, I really want to make some of these.
You really do have some GREAT ideas!!!
Awesome! It looks so great and I've been looking for a tutorial on this too!
Those are just way too cute. I'm going to have to make a couple of those for the guest bedrooms. Just love it!!
Great Tute! I think I must share your wonderful instructions!
Whoop! Whoop!
Thanks Sharon for the tutorial on how to make the tissue box cover! I love it! Thanks for sharing it on my Minutes for Me Linky party also!
Sharon,
That's a great tutorial. Thanks!
Terrific tutorial. Lots of pictures are the best way to explain to us visual types. I have some of the fabric I made the table runner from left over. I think I'll go give it a try right now. Cross your fingers, OK.
Selina
I just couldn’t depart your web site before suggesting that I really enjoyed the standard information a person provide for your visitors? Is gonna be back often to check up on new posts
[url=http://sqwrodriguez.blog.com/]Weight Loss Program[/url].
Thanks Sharon! I love this!
xx
I tried it and it went together perfectly. Thanks for including the measurements. I didn't ahve a tissue box in that style in the house anywhere. Need to stop and get one in the am. It is standing on it's own at the moment.
Thanks again. Selina
Thanks for the tutorial! What a nice project this season.
Post a Comment