

I was asked by a customer to redesign a small key chain mini purse she had that was very worn and to make it a little larger. Today I want to share the pattern and how to make this very quick and useful project.

You can click on this photo to save and print out on your own browser for reference and template. **all seams are 1/4 inch**


PREP WORK:
Fuse batt to one of the main body pieces, fuse the interfacing to one half of you pocket piece, and loop your ribbon thru the d-ring - baste the end and where the pencil is, I did 4/5 stitched back and forth to help hold the ring.

Press your pocket in half and stitch the top - gives it strength. You can use a straight stitch, decorative, hand - this is your project so play.
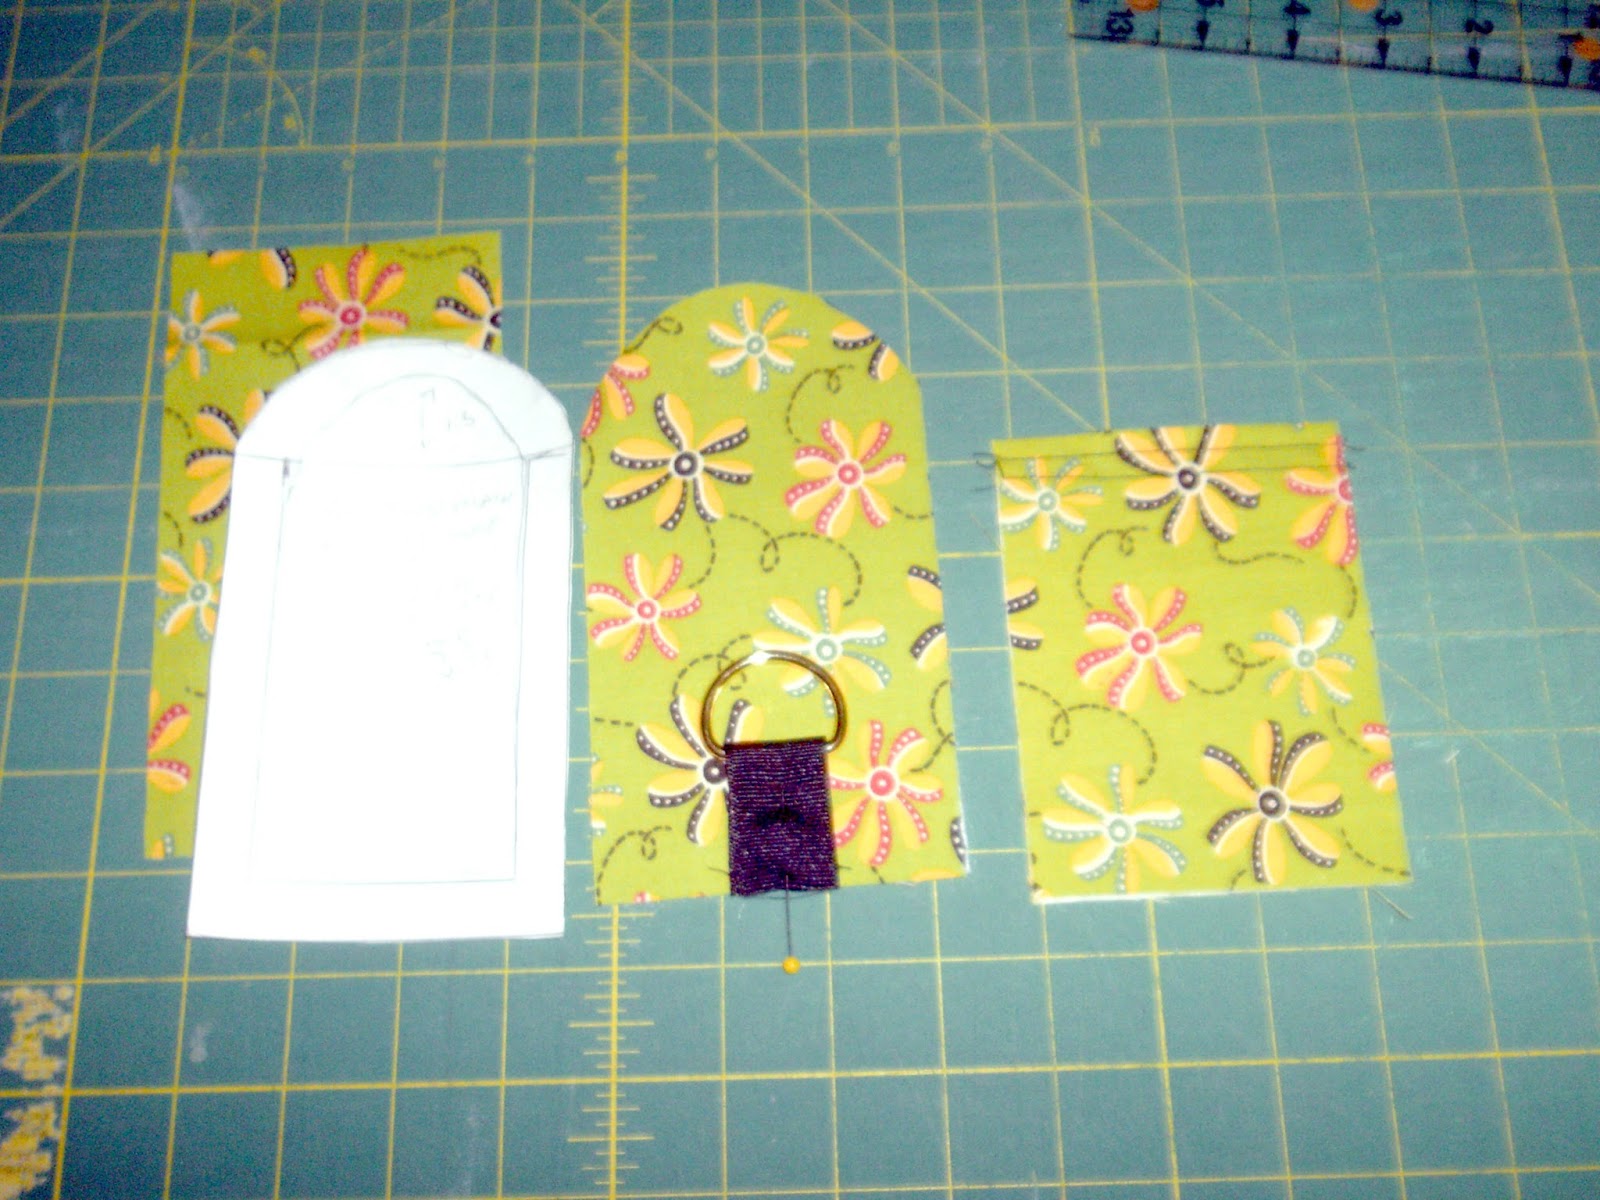
You can leave your main body straight edge or use the template to cut the curve. Again, your project, your choice. Centering, pin the ribbon/d-ring at the bottom of the main piece that has the fuseable.

Now to layer them for stitching. Place main piece with fuseable batt and ribbon face up, then the pocket, the place second main piece face down on top. Pin all layers.

I stitch up each side first and then stitch the curve. This helps to get the curve in place and lock those corners where the will be stress. DO NOT SEW THE BOTTOM

Now turn your mini purse thru the bottom. Yes, your ribbon is inside the pocket, but that is what we want. Press

Do a double row of stitch across the botom. I go across one way, lift presser foot and swivel that baby around and go back down - then both ends are lock stitched.

Your are done sewing!! Reach into the pocket and grab the d-ring, pull all thru the pocket and turn the whole piece. Your seam is inside and no need to hand sew a turning whole.

Use a damp cloth or heavy steam and press your mini. Options of closures: buttons with button hole, hand sewn snaps, or clamp snap fasteners. Again your project , your choice.

A quick project for gifts using up your scraps. Hope you enjoy.
Sewingly Yours,
Sharon


