Sunday, November 27, 2011

Christmas Quilt Show


Tomorrow is the start of SewCal Gal's annual Christmas Quilt Show. Small, medium, large, and designed in EQ - it will all be fantastic and you won't want to miss it. So get your camara, grab your entry, and be ready to post and join in.

Wednesday, November 23, 2011

Giving Thanks


I am feeling blessed with many helping hands that have been so active in our community, helping it to recover - so many who give up a day or two each weekend. For all my blogging friends who always seem to support and help to the utmost where they can. For family - who I will be spending with a few days. Yes, off to my daughter's and I get to smother my grandsons with kisses and hugs!

MINUTES FOR ME


It has been a wonderful year with the few swaps I participated in. But I really enjoyed the Once Upon A Season hosted by Cheryl at Stitching Cubby Hole. Each season swapping with a new person - this lovely package is from Donna at LavenderNest.


We swapped the Australian seasons (this was Summer) which was cool as you worked on a project different from what was around at the time - sometimes I had to think outside the box. Look at the goodies - blue FQ's (I love blue), daisy buttons (I love buttons), a pinnie table mat (I love pinwheels), and a beautifull vintage stitched dresser runner with picot edging. Oh, reminded me of my greatgran who actually has been on my mind a lot. Thank you Donna for so many lovelies for me.


And I ordered an Ackfeld wire table top hanger for my year of minis. Rather that wait for January - Regina Grewe offered this wonderful nutcracker pattern while the 'Garden Fun' BOM is on winter holiday. So I had to make him to dress up my new hanger and be part of my holiday decor.

Marcia atCraftySewing has this wonderful idea of Minutes for Me and each week sets up a Linky Party. This weeks is extended because of the Holiday. Why not join in? No prizes, give aways - just a way to allow yourself to make some MINUTES. We all need to reward ourselves with ME time. I'm linking this rather short post to Minutes For Me - I will be away for the next 4 days - ME TIME.

CLOSING THOUGHT

My dear greatgran has so been on my mind - a woman before her time. A pillar of the family and the community. She had so many quotes of wisdom - sometimes a bit mixed up or beyond my tender years to understand. But at this time, I remember her offering this on to me when I questioned why she had given a neighbor her last bag of flour one Thanksgiving. "Remember child, the giving hand extends further than your sleeve. It will be returned tenfold if you extend both hands."

Sewingly Yours,
Sharon

Sunday, November 20, 2011

Block Party!!


I hope you have been visiting HERE as there has been one or two wonderful block tutorials each day - all thru the month of November! I will be a guest tomorrow - Tuesday, Nov 22nd. Hope you pop in for a visit and leave me a line.


I finished my 12 of Hearts BOM stitchery. I'm thinking Moda's Blueberry Crumble will play so nicely with these. What do you think?


These little basket blocks are on their way 'across the pond' as part of the Australia 6" block swap. I am not the best at applique' (handles), but goes to show you need to TRY to learn anything new. Small projects in a new technique are wonderful ways to try something new.


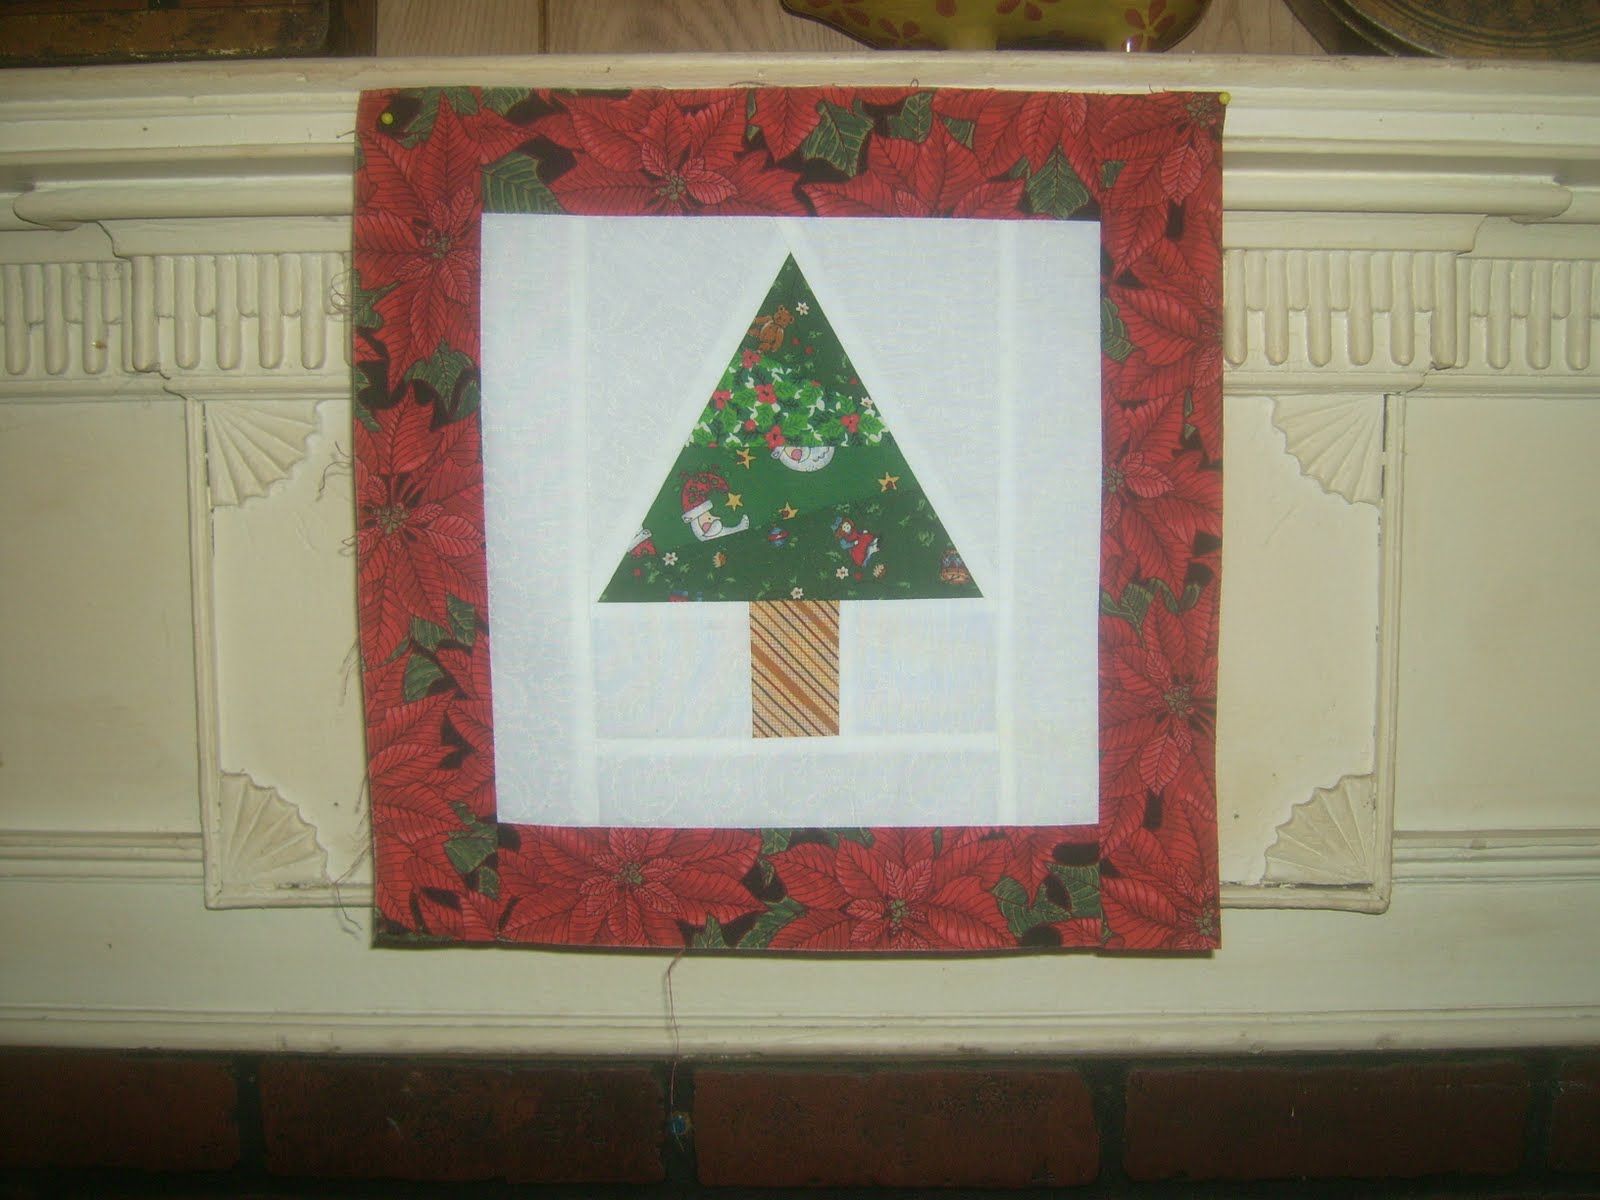
My version of the tree block for the 12 Days of Christmas Quilt Along.


And my version of the Noel block for the 12 Days of Christmas Quilt Along. This shows you should print from one version - the N was from the site and the other letters from a saved file - see how they are different - HEY, I like different so it stayed as is.


Block #10 from Quilt Happy,Quilt Often's Home Sweet Home BOM. They are just 4.5" blocks and stitch very quickly. They are all still available if you like.

ON THE WALL


This is my progress for the Clover & Violet market tote. I am going with a solid back and pieced front. A lot more to do on the pocket stitchery which I am also using my pen-tech pencils. I will be adding beadwork, too. I will link this project up with Judy and Clover & Violet.

REMINDERS

Sew Cal Gal - Christmas Quilt Blog Hop
Occupy Your Sewing Room
Minutes for Me
FQ Star Quilt Along (Tuesday next block)
12 Days of Christmas (Tuesday next block)

TRAVELING STASH

Box #1 - just passed on to Jessica at Quilty Habit.

Box # 2 - Staci will be splitting the box in two - The Confused Quilter so hop over and leave a comment if you are up to committing.


GIVE AWAY


Since it is a block party, I will be doing a block tutorial on Sew We Quilt, I seem to be working in blocks, my SQUARED UP segment has been missing for a while, and I am almost to that magic 300 follower thing - it's give away time!!! What better than a collection of pre-cut squares (blocks) from my overflowing barrel. Seems I don't use the 3.5" squares very often. This is a pile of 600 squares - be a follower and leave me a comment "your fondest memory of FIRST snow" - nothing more special and thrilling as the first snowfall of the season. I will announce the winner DECEMBER 1ST. **Will ship international**

CLOSING THOUGHT


Moe has finally, I think, accepted this fabric piles, threads stuck to everything, hissing iron, starch spray, machines humming, pins on the floor crazy house. Today was the first time I found him amid the fabric napping. Do you see which fabric he pulled to use for his pillow?

Sewingly Yours,
Sharon

Wednesday, November 16, 2011

Pass The Tissues Please!


So many asked if I would post a tutorial for how I made the tissue box cover for the Ghastlie Blog Hop. With many bloggers having been ill, are ill, or family ill - gosh this darn Flue season has gotten to us all - this seems like a good time.

This is long with lots of photos. They are actually very easy, but feel the more visual the more help. And you are always free to express yourself with the pattern, share it, just link back for credit.


Most of these small tissue boxes are the same size, but check your measurements. I measured the top of the box which was 4.5" square. Add a 1/2" to your pattern for seams. So we are working with a 5" square.


Take the side measurements. This box is 4.5" x 5" - add the 1/2" for seams. So we are working with a 5" x 5.5" rectangle.


Supplies:
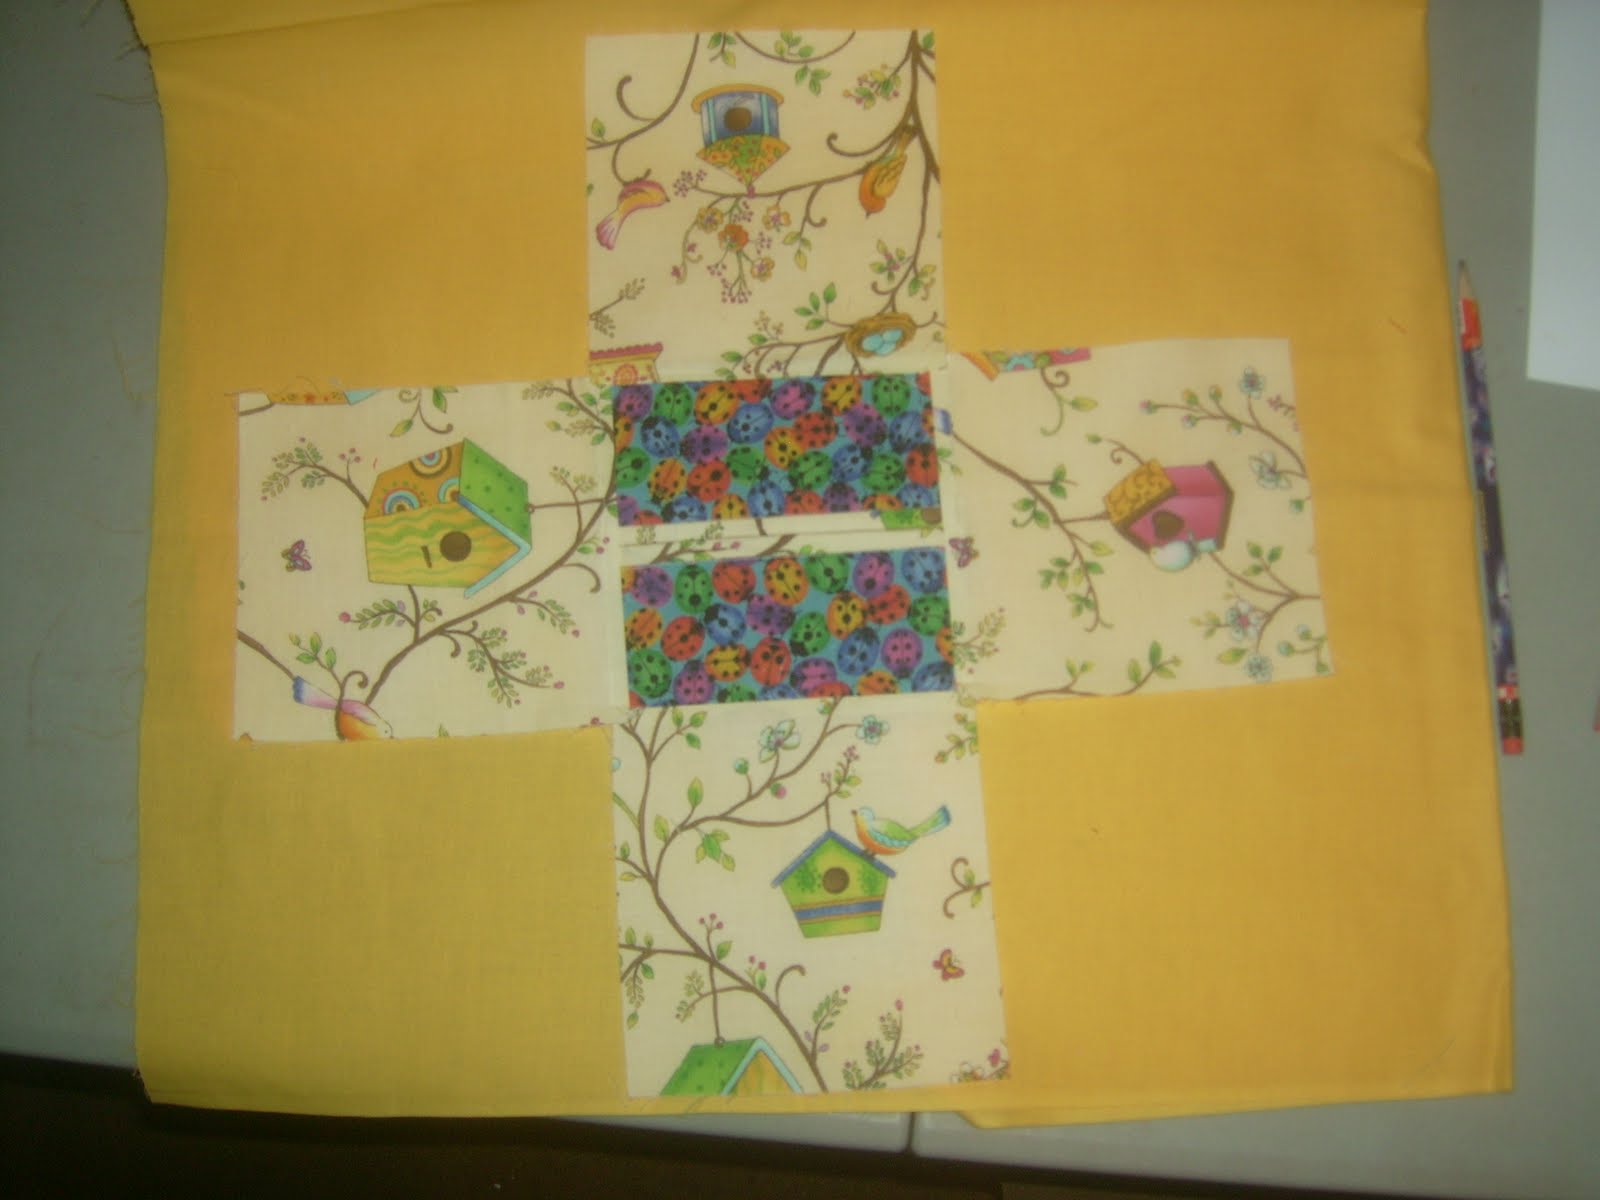
Top: cut 5" square and cut in half so you now have two 2.5" x 5" rectangles
Sides: cut four 5" x 5.5" rectangles
Bindings: cut two 1.5" x 5" for top and one 1.5" x 22" for bottom


Sew your binding strips to one long side of each top rectangle.


Press your binding out. Turn over and press the binding edge to the top of seam raw edge.


Fold over and press in place. Pin and top stitch from the front. There is plenty of room to stitch and catch that binding edge. Even have some fun and use a fancy stitch here if you like.


Now butt up your two top pieces and stitch across 1/4" seam to hold in place. Mark your 1/4" seam locations in each corner as we are going to learn some set in seams - DON'T get nervous, use this as a learning curve.


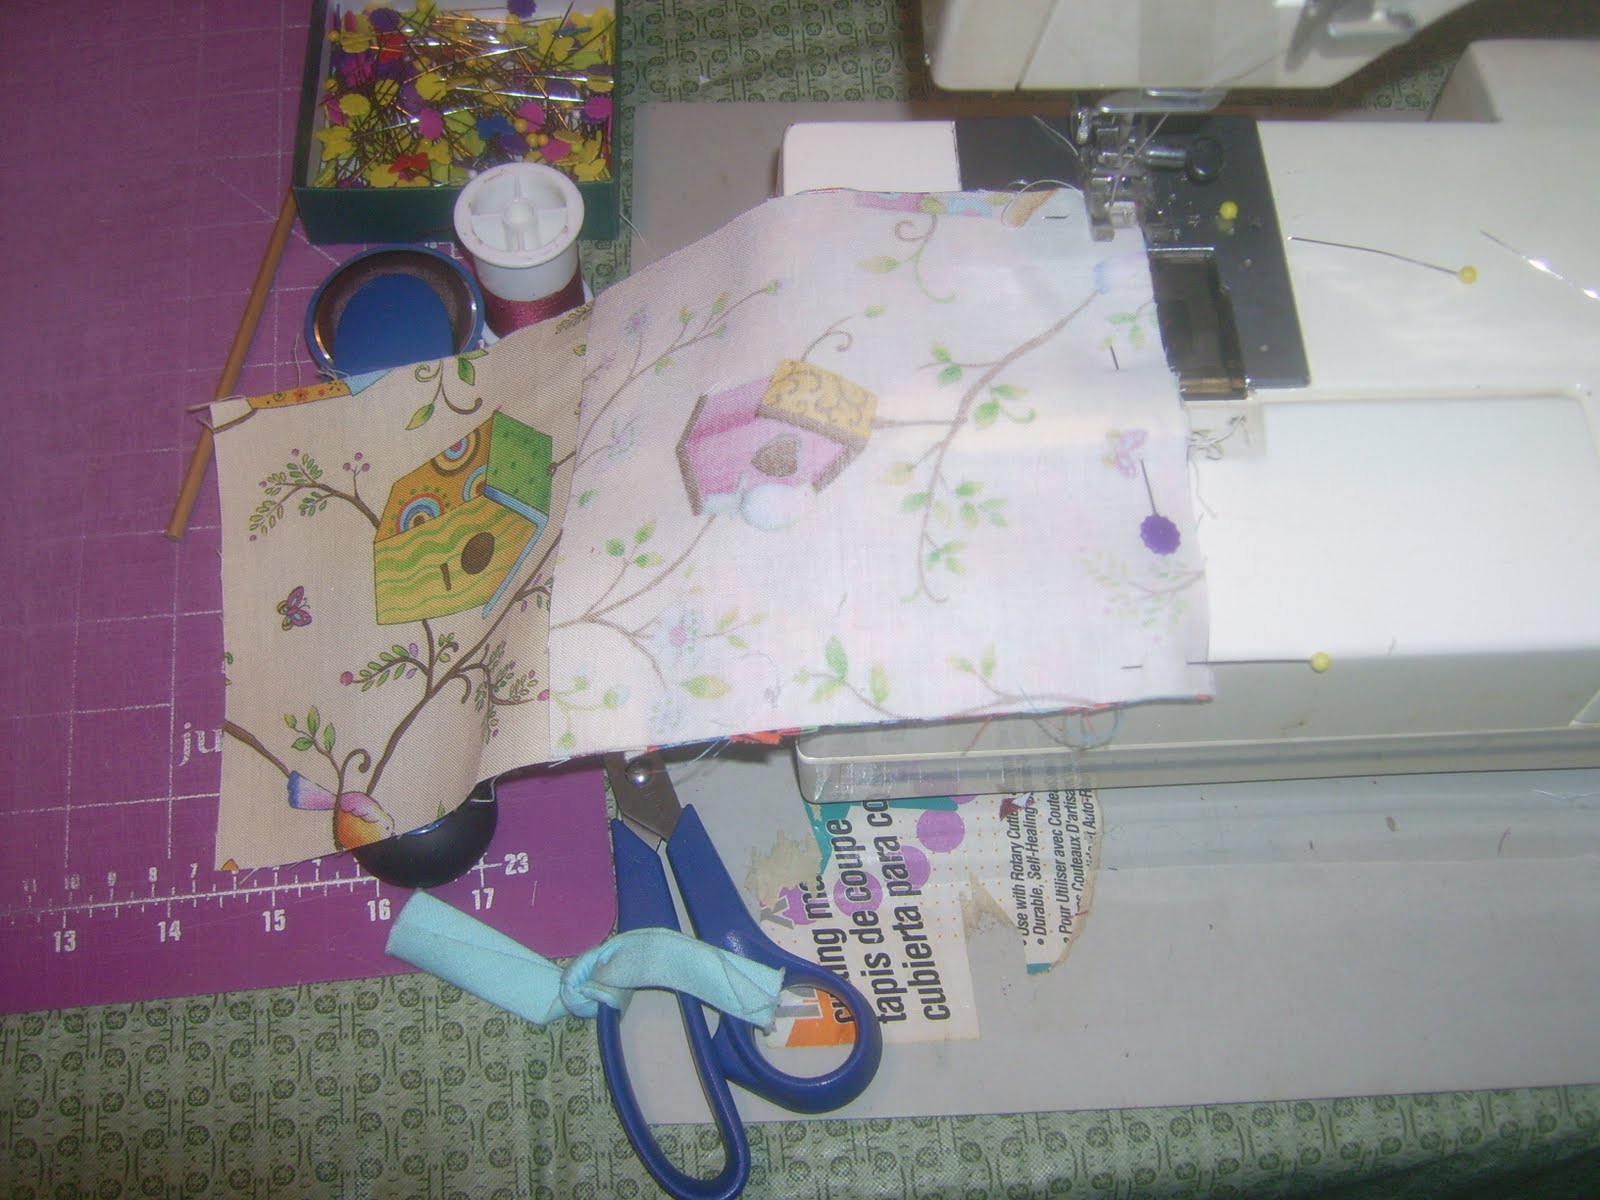
Take one of your side pieces and pin right sides together on one of the 'seamed' top side, making sure your pattern or directional fabric is going the right direction - don't want anyone standing on their head. Stitch from 1/4" mark to 1/4" mark.


Now we are going to add the OPPOSITE side piece, pin right sides together again checking our pattern is correct - and stitch from 1/4" mark to 1/4" mark.


Press your two side pieces out. Here you can play. If you are a beginner at set ins, I would skip this. If you are a confident beginner or experienced, you could top stitch or use a fancy stitch - just REMEMBER to start 1/4" in and end 1/4" from end! The Ghastlie cover I hand stitched with floss and large stitch AFTER completed.


Now for our other sides. Place right sides together (check your pattern directions so no upside down) and pin. If you pull back you previous seams, it will aid you in pinning your start and ending 1/4" points. Stitch from 1/4" to 1/4".


Add your last side using the same method. Pin your seams out of the way to help with the 1/4" mark. Stitch from 1/4" to 1/4".


Press your side pieces out. Again, you can leave them as is or use a top stitch or fancy stitch - remembering to start and stop 1/4" from edge.


With right sides together, line up your seam sides. It helps to fold the entire piece in half. Set a pin at your starting point - your 1/4" should be easy to see with your prior stitching. START at this point and stitch down the side.


Use the same process on the OPPOSITE corner/side. Your 1/4" seam sets are visible at that top - start there and stitch down the side seam. Repeat for the other two sides.


Turn your little fabric box right side out. Almost there. Time to check those corners and do any fixing. Don't stress it - it's a tissue cover! And if your first experience at this, relax and breath. It's better to take some hand stitches to fix than try to re-sew. Make a few more and you will be a pro.


Now to bind the bottom - just the same process as the top edges. Press one end 1/4", pin binding around bottom with right sides facing. Start stitching just before a seam/corner, go around and end just after the last seam/corner.


Match up your binding - I fold back butting up to other ends fold. Then pin those two fold lines together. Stitch across. Trim excess. Finger press those seams open and pin binding in place - finish stitching down. This is a skinny binding and a small opening - no need to stress over bias edges like on a quilt.


Again like the top binding - press the binding out, then fold and press to match raw edge of seam and binding edge. Fold over the seam and pin in place for stitching. Again just a lot of room for a straight stitch or play with your fancy stitches.


Here's the finished tissue cover. Wouldn't it be fun to use some rick-rack instead of binding? Add some yo-yo's? Oh your imagination makes it your own.


I made another to varify my directions - how about a tissue cover for your little buck-a-roo! Enjoy your creations and feel free to ask any questions if something is hard to understand. ABOVE ALL - have FUN.

I will be linking this post with Marcia's Minutes for Me at Marcias Crafty,Sewing,Blog as I enjoyed using my minutes to share this tutorial with you.

Also linking up with Sarah at Confessions of a Fabric Addict.


CLOSING THOUGHT

Just to share something new to me in the tissue world:

Design Your Own Tissue Box

Sewingly Yours,
Sharon